 English
Search
News categories
Recommend News

News categories
Recommend News

 Apr 09, 2019 - By admin
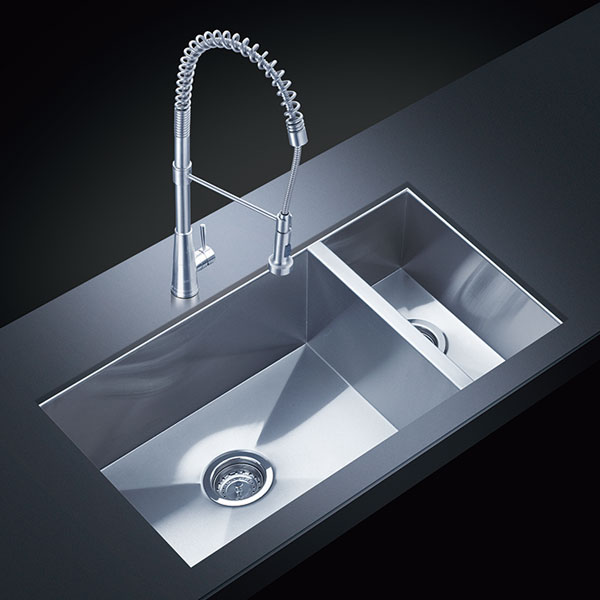
Kitchen Faucets Manufacturers Teache You How To Disassemble Kitchen Faucets
Apr 09, 2019 - By admin
Kitchen Faucets Manufacturers Teache You How To Disassemble Kitchen Faucets
There is always a small problem in the kitchen faucet at home, and it takes a lot of trouble to find a master to repair. In fact, the maintenance of the kitchen faucet is very simple, but many people are difficult to get rid of the kitchen faucet. Today, Afa kitchen faucets manufacturers teach you how to disassemble the kitchen faucet, and the kitchen faucet can be disassembled in 8 steps.
Kitchen faucet disassembly preparation tool
Tools: small wrench, Phillips screwdriver, fruit knife, old towel;
Material: faucet rubber ring pad or small tile
1. Turn off the sluice of the house, usually next to the water meter. Some shuffles have a small opening underneath, and it is more convenient to use this small slice.
2. Discharge the remaining water in the faucet and place the old towel on the side. After the waterproof faucet is disassembled, the water will flow everywhere.
3. Use a fruit knife to gently pry open the protective sheet on the handle. This small piece is usually put on or glued.
4. The protective sheet is removed, and the thin and flat piece is like a button.
5. Use a screwdriver to loosen the screws that secure the handle.
6. Remove the handle. The handle is snapped over the longitudinal tooth pattern and can be pulled directly with a little force.
7. Use a small wrench or pliers to unscrew and remove the shaft. The small porcelain piece under the gasket is visually intact, but it will not leak when replaced with a new one. I don't understand why.
8. The left side of the tile is placed underneath, and the right side of the pendulum must be reversed on the front and back, otherwise the water will not be closed. Follow the original steps to install the parts back and open the water test.
Copyright © 2025 Ningbo AFA Kitchen and Bath Co.,Ltd. All Rights Reserved.
