 English
Search
News categories
Recommend News

News categories
Recommend News
-
-
 Industry News Stainless Steel Kitchen Sink Is An Important Event Venue
 -
 Industry News The Advantages of AFA Stainless Steel Under Counter Sink
 -
Industry News Stainless Steel Kitchen Sink Makes The Kitchen Cleaner
Dec 10, 2018 - By admin
The Correct Steps To Install A Stainless Steel Kitchen Sink
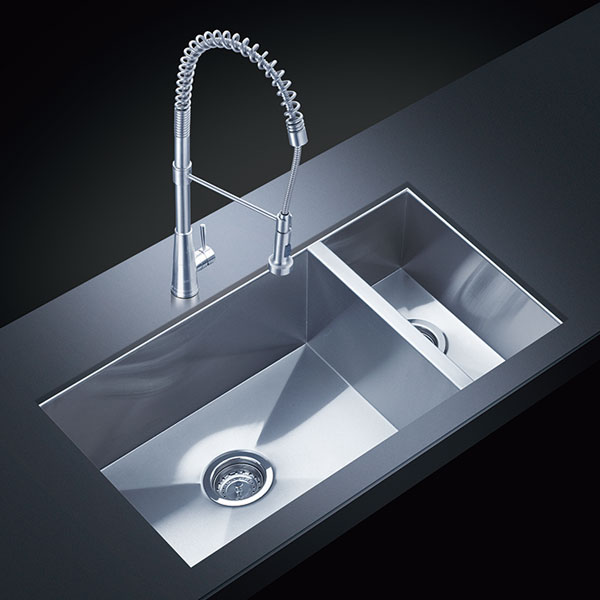
The position of the Stainless Steel Kitchen Sink in the kitchen is paramount, because it has a very important role to help people solve a lot of things, then you know how it is installed, follow the small series to see the steps to install the stainless steel kitchen sink.
In the first step, reserve the sink level and provide the approximate size of the sink when ordering the sink. It is best to have a floor plan provided to avoid rework and lead to rework. When the sink is installed, the position reserved for the countertop should match the volume of the sink. The sink should be installed firmly and the tank should not be shaken from side to side. The installation of the sink in the entire renovation is not a big project, but pay attention to the tightness of the joints during the installation process.
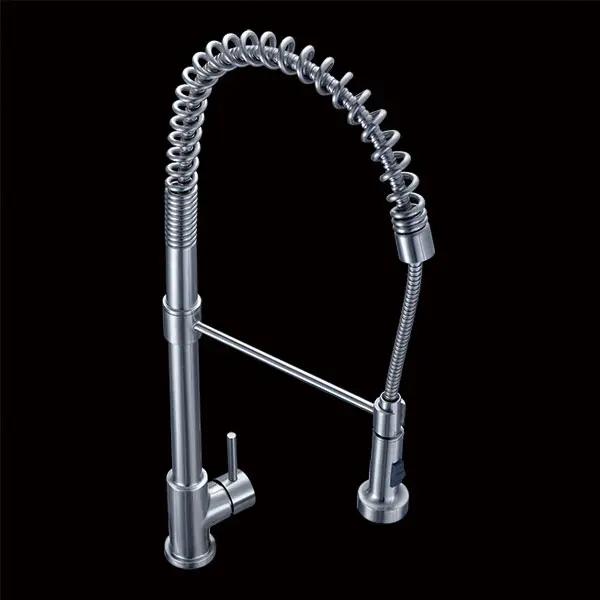
In the second step, the faucet and inlet pipe should be installed before installing the sink. In addition, one end of the inlet pipe on the faucet is connected to the water inlet switch. After placing the countertop, it is necessary to install a matching hanging piece between the trough and the countertop. The sink should be installed firmly and the tank should not be shaken from side to side. The installation of the sink in the entire renovation is not a big project, but pay attention to the tightness of the joints during the installation process.
In the third step, the degree of sealing of the overflow hole and the filter blue is affected by the use of the sink in the future. Therefore, the degree of sealing of the overflow hole and the filter blue is very important. After the installation is completed, it is necessary to check the sealing of the overflow hole and the filter basket.
In the fourth step, the last step of the installation is to install the matching hanging piece of the sink. After the general sink is bought, the worker will cut the countertop according to the size of the sink. After placing the countertop, it is necessary to install a matching hanging piece between the trough and the countertop. When installing, avoid small gaps and cause the tank to shake to better prevent leakage in the future.
In the fifth step, after the installation, the drainage test is carried out, the water tank is filled with water, and the drainage of the sewage and the overflow hole is tested. If there is any water seepage when draining, rework immediately. After the drainage test, ensure that there is no problem, the sink can be sealed. When sealing with silicone, ensure that the gap between the sink and the table is even and there is no water seepage.
Copyright © 2025 Ningbo AFA Kitchen and Bath Co.,Ltd. All Rights Reserved. Custom Modular Outdoor Kitchen Manufacturer Outdoor Barbecue (BBQ) Kitchen Factory Privacy Policy
